- 12 Ocak 2021
- Yayınlayan: Entek Otomasyon
- Kategoriler:
Keyence GT2 Kullanım Kılavuzu
- Dosya Boyutu 1.89 MB
- Dosya Adeti 1
- Yayınlanma Zamanı 12 Ocak 2021
- Son Güncelleme 17 Şubat 2021
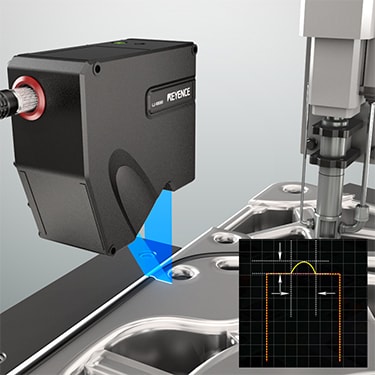
2D Profilers give width, height, and volume of sealant beads inline without touching a part.

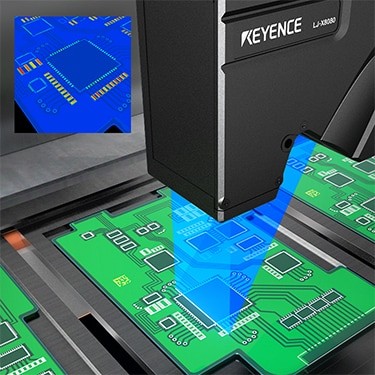

Conventionally, a vision sensor was used for OK/NG judgment based on the area. Since the LJ-X8000 Series can measure the volume and position of paste application, it can reduce material costs and support higher component densities.


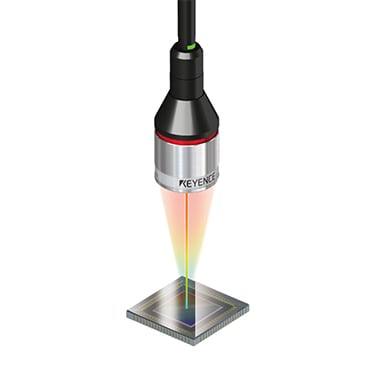

Check the tilt of the elements after bonding. The CL-3000 Series uses the multi-color confocal method that enables coaxial measurement. No matter whether the target surfaces are specular or rough, they can be measured in the same setting, which achieves easy and highly accurate inspection.


High-speed sensors can measure runout of brake discs, regardless of surface finish.


Measure the extent of foil vibration just before the slit. Even if the target is tilted due to vibration, the good angle characteristics of the CL Series enable stable measurement.


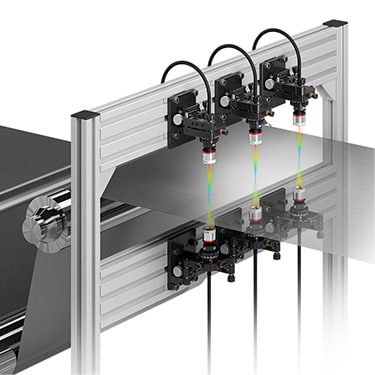

A sensor is placed above and below a target to measure the thickness of anything in-between. This non-contact method can be used for measuring the thickness of any material and can be used in process or for offline inspection.


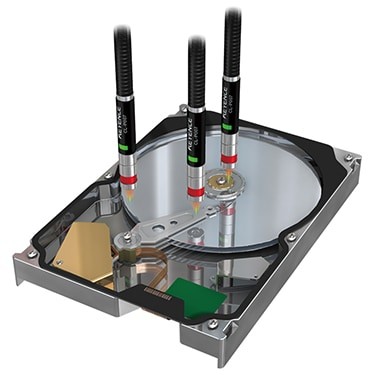

Ultra-compact ø8 mm heads make it possible to install multiple heads in narrow spaces. This reduces the amount of work spent designing equipment and the number of parts that need to be purchased to measure multiple points in close proximity.


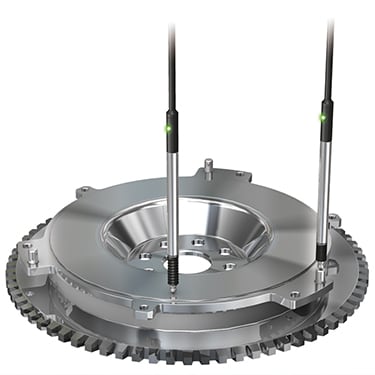

Check step heights on machined parts without influence from oil or other surface contamination.


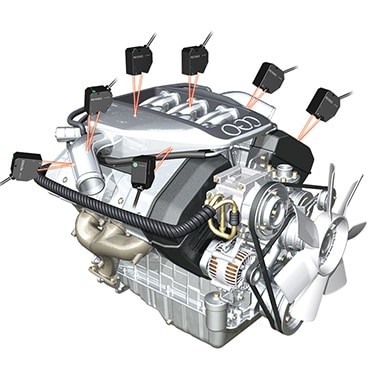

Measure many points on an engine with a multi-point laser system for accurate characterization of engine vibration. With ultra-highspeed sensors, even the smallest vibrations can be detected.


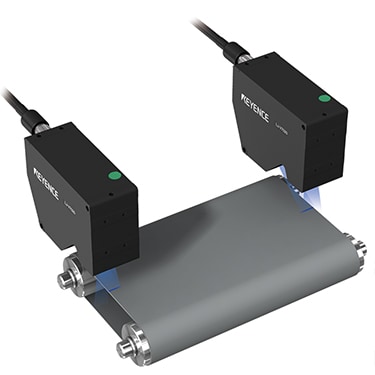

Measure the position and edge flutter of a belt with two 2D laser profile sensors for stable measurement.


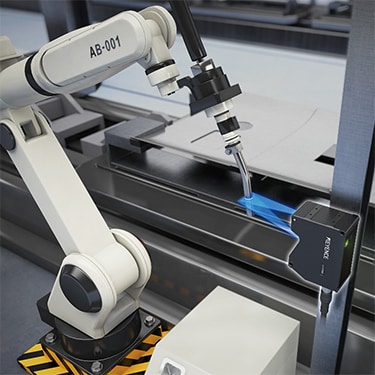

Residual vibration measurement is used to determine how much a robot shakes after stopping. When working with a welding torch or other tool, the measurement location may not always have a flat surface. Using a 2D laser profiler enables accurate measurement on a wide range of surface shapes.


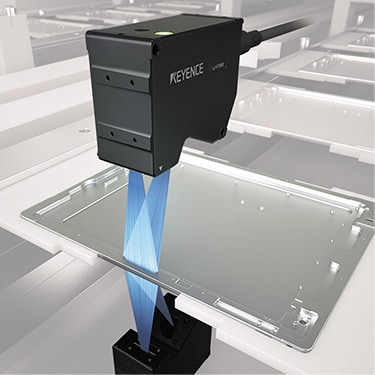

Opposing 2D profilers can scan multiple points of thickness over a part. This allows stable thickness measurement even on rough surfaces.


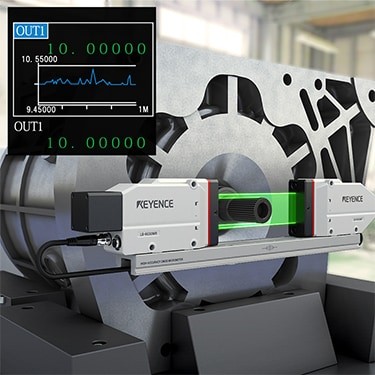

High-speed thrubeam sensors can measure runout and ovality of rotors accurately and repeatably.


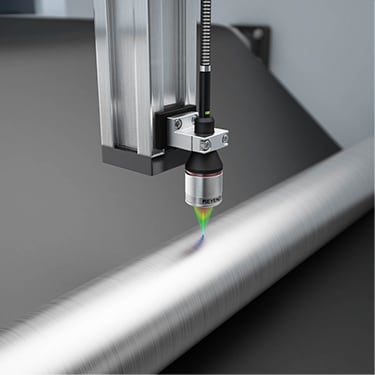

Measure roller runout using confocal sensors for high stability on reflective surfaces.


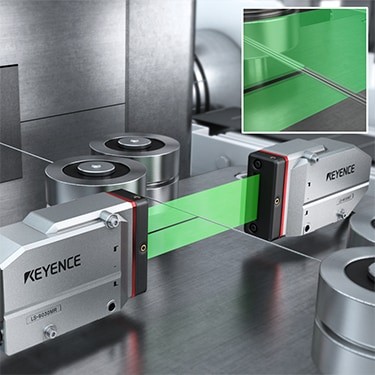

Thrubeam micrometers allow for high-speed measurement of wire OD without being affected by vibration.


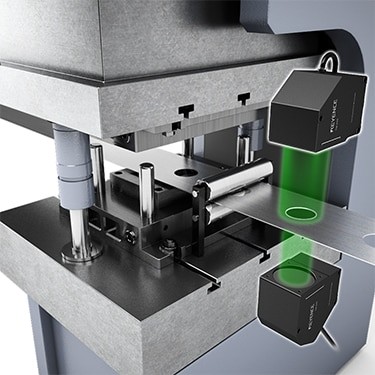

2D thrubeam sensors can measure hole diameter after stamping inline.


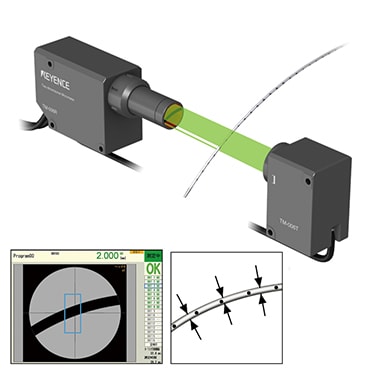

The Telecentric Measurement System uses 2D images of a target's silhouette to measure diameter. Target misalignment or tilt is automatically corrected for, making it simple to get accurate measurement without perfect fixturing.


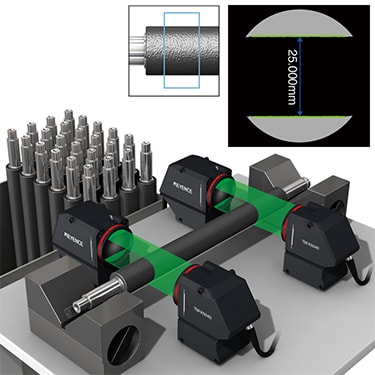


Compressible or rough surfaces can be accurately measured using the 2D image generated by the Telecentric Measurement System. Implementing non-contact measurement eliminates error due to part deformation and any variation in diameter due to surface texture can be averaged over to stabilize results.


Compressible or rough surfaces can be accurately measured using the 2D image generated by the Telecentric Measurement System. Implementing non-contact measurement eliminates error due to part deformation and any variation in diameter due to surface texture can be averaged over to stabilize results.


Using 2D measurement systems makes it possible to measure the minimum and maximum diameter on a target from a single captured image. The TM-X Series works by capturing the silhouette of a target using a telecentric optical system, so it can accurately measure objects of any material (including clear vials).


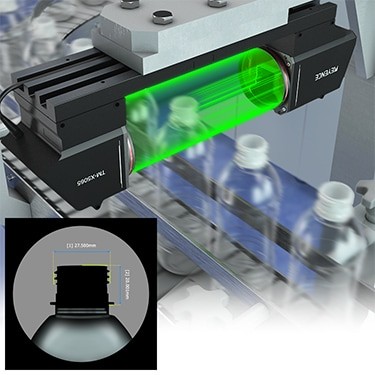

With an exposure time of just 100 µs, the Telecentric Measurement System can capture clear images of targets moving at high speed. This makes it an ideal solution for accurately measuring diameter inline.


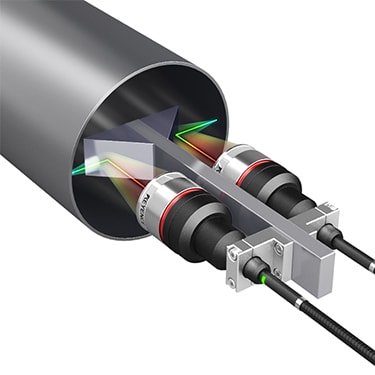

With small sensor heads and a mirror fixture, confocal sensors can give an accurate measurement of pipe ID.


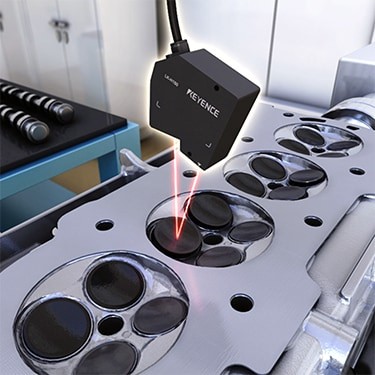

High-speed laser displacement sensors can check for valve float without touching the valve head.


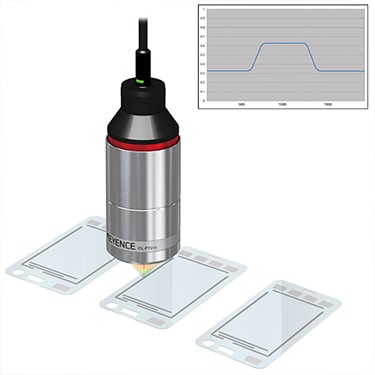

Measure fine details on touch panels regardless of surface finish with confocal sensors. With a beam spot of 3.5μm, even the smallest features can be measured.


Check outer diameter on machined parts without influence from oil or other surface contamination.


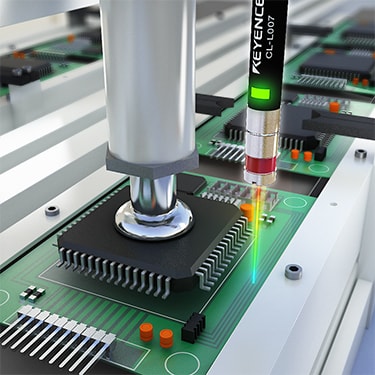

High-speed laser displacement sensors can check for valve float without touching the valve head.


Profile tire treads and sidewalls with multiple 2D laser profilers.


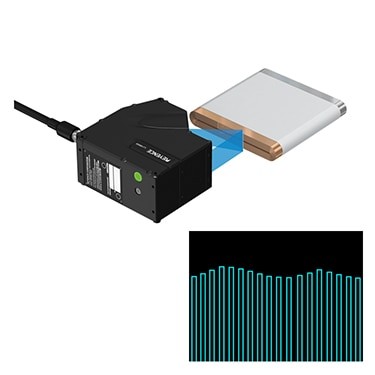

Inspect for lamination misalignment after winding. With a minimum X-resolution of 2.5 μm 0.000098", the LJ-X8000 Series accurately measures the profile of each electrode.


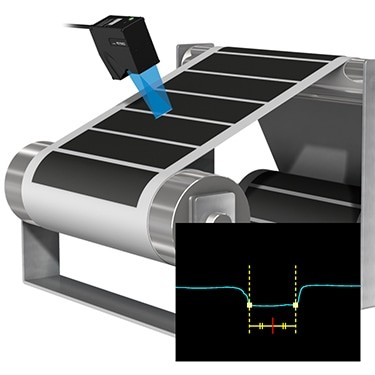

Provide feedback about disconnected locations in electrodes before lamination. Accurately acquire the profile of electrode terminals to perform high-accuracy inspection of edge locations.


Measure the profile of a wafer edge. By selecting one of the inspection tools such as Height Difference/Width or Angle, users can start measurement easily. The high-resolution image capturing using 3200 points/profile achieves highly accurate profile measurement that was impossible with conventional methods.


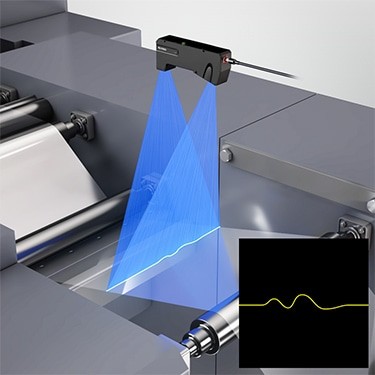

Film curvature and wrinkling measurements are performed using a blue laser with a maximum width of 720 mm. Measurement is possible even for transparent targets thanks to the wide dynamic range of the CMOS sensor.


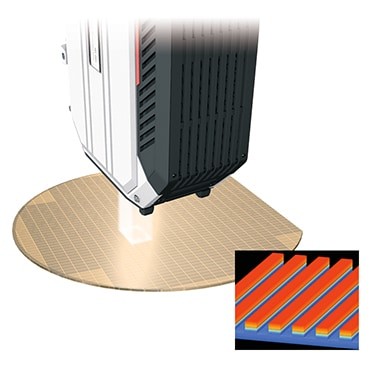

Measure the step height of features on a wafer after etching. With 3D interferometry, mirrored surfaces can be measured accurately.


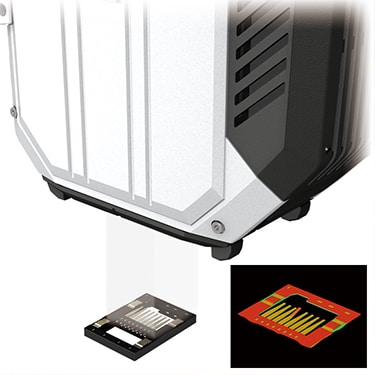

Unlike triangulation sensors, interferometers can measure small parts in confined spaces without blind spots or unstable data.


Using 2D thrubeam sensors, medical balloons can be inspected inline at high-speed.


Measure small part dimensions inline with pattern projection measurement heads. Projection from both sides reduces dead zones.


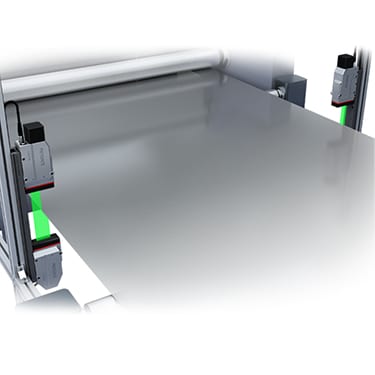

With two thrubeam micrometers installed on either side of a film, we can get a width measurement and give film position, regardless of color or material.


2D thrubeam sensors can measure the step height between a roller and a sheet to get a thickness measurement. Additionally, A second sensor can be added to get a width measurement.


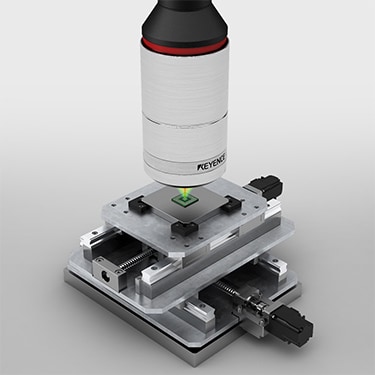

A displacement sensor with an extremely small beam spot of just 3.5 µm can be used for accurate profile measurements of roughness and subtle shapes. 3D shape measurements are also possible through detailed scanning synchronized with the X-Y stage. Measurements with impressive angle characteristics are possible not only for opaque targets but also transparent targets and 3D shapes with mirrored surfaces.


Confocal sensors do not have the dead zones characteristic of triangulation sensors, and can therefore measure into smaller and deeper holes more reliably.


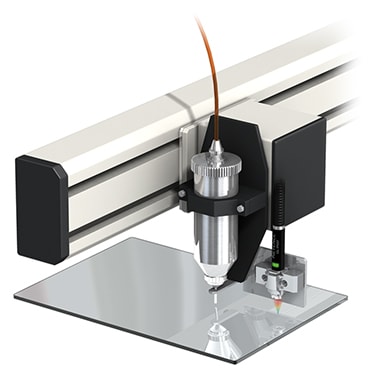

Measure the height of the equipment when adhesive is applied to glass. Utilizing the multi-colour confocal method measurement principle enables high-precision measurement whether the glass is transparent or opaque.


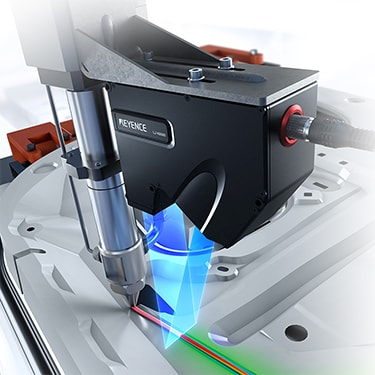


2D Profilers can measure width, height, and volume of sealant beads inline, regardless of surface finish or color.


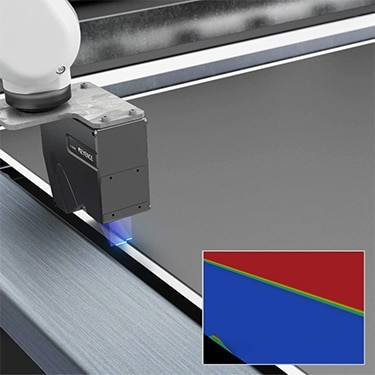


Detect burrs arising on terminals after electrode slitting. With ultra-high-resolution 3200 points/profile measurement, the LJ-X8000 Series produces stable detection even for minute burrs.


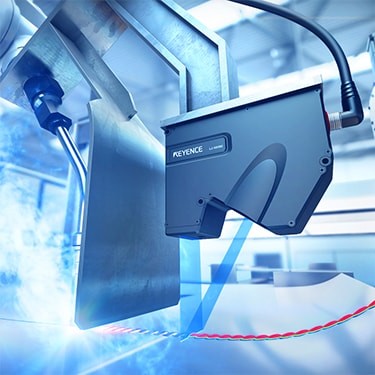


Profile measurement can be continuously performed on captured 3D shapes. This allows pass/fail criteria to be applied to maximum and minimum values over an area or period of time, making it possible to catch small defects in continuous processes.


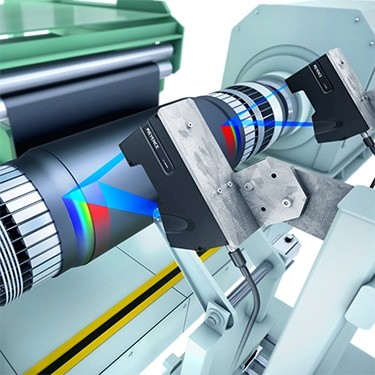


Free-form planes allow the system to pick up on deviations from the typical contour of a surface.This makes stable defect detection possible, even for targets with complex shapes.


Highly accurate measurements can be made even when measuring targets with height differences or where the distance from the target to the camera could vary.


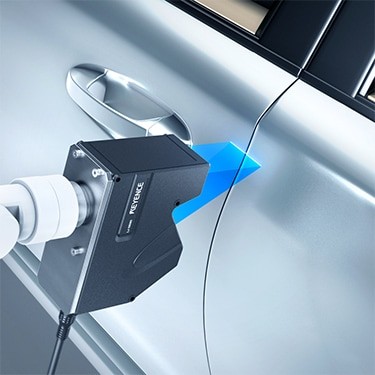

2D laser displacement sensors can measure both width and height, allowing for panel gaps to be accurately measured, regardless of the surface finish or color.


Detect chipping or dents in laser welded beads using 3D laser profilers. The measurement is unaffected by color or gloss of the weld, making inspection results stable through glare or bead shape variation.


Using thrubeam sensors, roller position can be accurately measured at high line speeds.


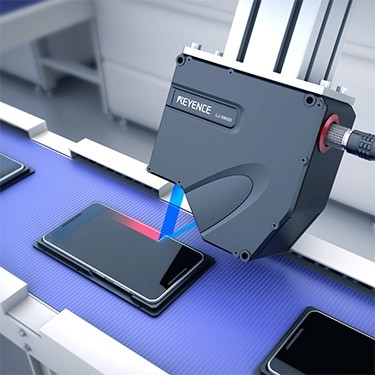


Targets with multiple materials can be captured in a single profile, allowing measurements to be made between glass and metal surfaces. The LJ-X Series is equipped to handle reflectances ten times higher than conventional products.


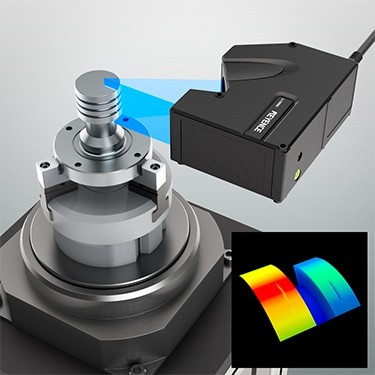


For targets with different diameters, conventional vision systems often have a hard time focusing on the larger and smaller diameter areas at the same time. Measuring the height of the dents with a laser profiler makes it possible to inspect the whole surface at once.


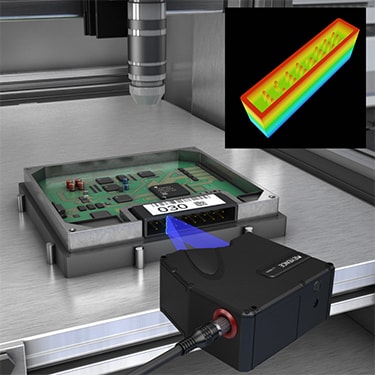


Measure the position and projection of connector terminals simultaneously. Conventionally, two measurement steps were required using an image processing system and a contact sensor. The LJ-X8000 Series can perform both inspections simultaneously. This achieves cost reduction by reducing the amount of installed equipment.


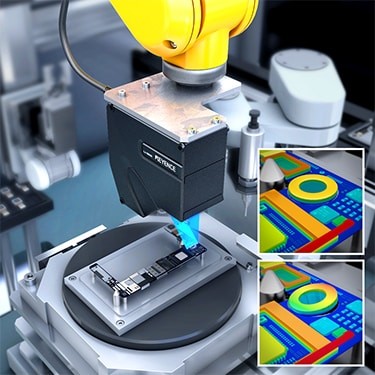


3D inspection allows users to accurately detect whether components are properly seated in the assembly or if elements are tilted. Using a KEYENCE 2D/3D laser profiler with a blue laser ensures stable measurement, even for targets with varying materials.


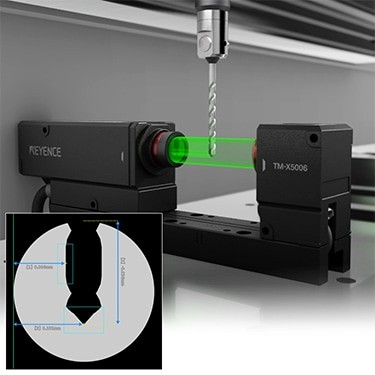

Robot teaching is used to ensure tools are set in the specified position. The 2D Telecentric Measurement System enables precise position feedback for end tools and other axial targets.


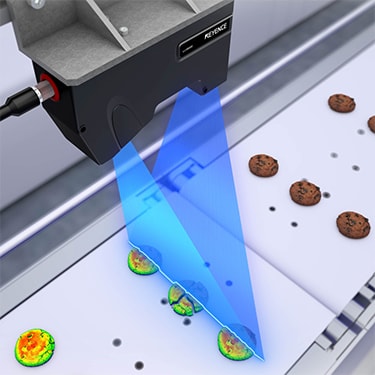

The laser profiler's wide field of view makes it possible to inspect multiple targets traveling on a conveyor belt together. 3D position correction can be used to identify and inspect each cookie within the measurement range, enabling accurate sorting to improve quality and eliminate waste.


Measure the flatness of the terminals of power modules. The target is detected by its surface and the flatness is measured based on the reference plane calculated with the least squares fitting method. The errors caused by the tilted positions of targets can be canceled, which ensures accurate inspection.


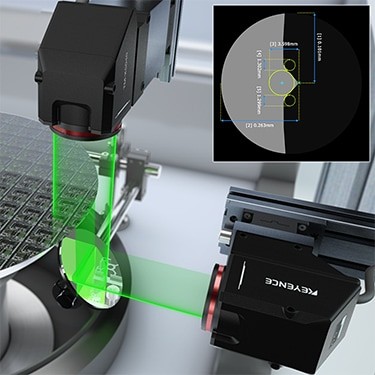

Angled mirrors can be used for measurement where installation space is limited. This setup enables position detection of tangent circle coordinates or intersection point coordinates as well as simultaneous shape and dimension verification for wafer notches.


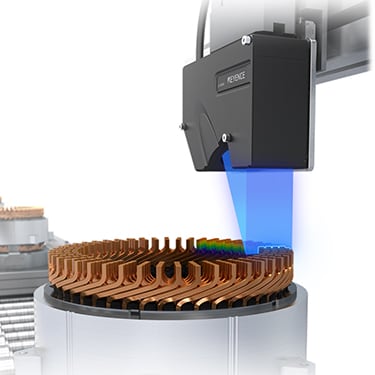

Inspect motor height after powder welding using the LJ-X8000 Series. The 3D laser profiler provides reliable 100% inspection with its high speed and measurement stability.


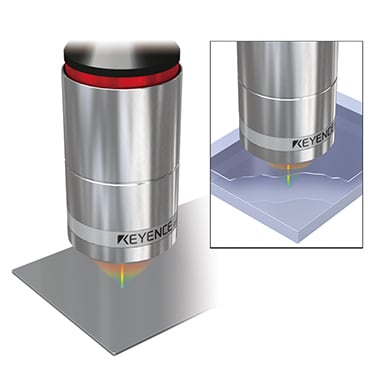

Measure transparent films and coatings with a single displacement sensor. Confocal sensors give an accurate thickness measurement from one side of transparent targets.


In-line thickness measurements can be altered by roller eccentricity, wrinkles, or tension in the sheet. Up to 6 measurement points and 4 layers of clear film can be measured with a single controller.


2D Profilers can measure width, height, and volume of sealant beads inline, regardless of surface finish or color.


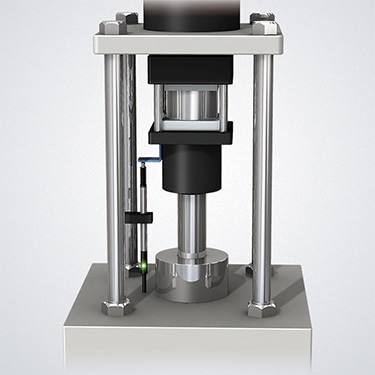

Check for press fit failure with contact displacement sensors.


Detect burrs arising on terminals after electrode slitting. With ultra-high-resolution 3200 points/profile measurement, the LJ-X8000 Series produces stable detection even for minute burrs.


Profile measurement can be continuously performed on captured 3D shapes. This allows pass/fail criteria to be applied to maximum and minimum values over an area or period of time, making it possible to catch small defects in continuous processes.


Free-form planes allow the system to pick up on deviations from the typical contour of a surface.This makes stable defect detection possible, even for targets with complex shapes.


Highly accurate measurements can be made even when measuring targets with height differences or where the distance from the target to the camera could vary.


2D Thrubeam sensors allow high-speed dimensional inspections to be taken on the silhouette of a part.


Target positioning is used to ensure the next process is performed accurately. Laser profilers provide stable position feedback anywhere in the measurement range, regardless of target material, color, or size.


Detect chipping or dents in laser welded beads using 3D laser profilers. The measurement is unaffected by color or gloss of the weld, making inspection results stable through glare or bead shape variation.


Targets with multiple materials can be captured in a single profile, allowing measurements to be made between glass and metal surfaces. The LJ-X Series is equipped to handle reflectances ten times higher than conventional products.


For targets with different diameters, conventional vision systems often have a hard time focusing on the larger and smaller diameter areas at the same time. Measuring the height of the dents with a laser profiler makes it possible to inspect the whole surface at once.


3D inspection allows users to accurately detect whether components are properly seated in the assembly or if elements are tilted. Using a KEYENCE 2D/3D laser profiler with a blue laser ensures stable measurement, even for targets with varying materials.


